💡Tip 2, Git Setup for 1 MC case and some Git tips

1. Use ✔ Git, Not 💩 Human Memory
As suggested by Kofax RPA, applying Git on the Robot Lifecycle Management is a best practice.
The Robot Lifecycle Management feature enables you to control work objects of various types in a version control system such as Git...
These best practices are written with the assumption that you have working knowledge of the Git version control system. Ref
Using Git in robot development has the following advantages:
- You do not need to remember what you have changed as all changes will be recorded.(e.g. change Time, the person who change it, the content changed and the reason why it is changed)
- Compare different versions, especially the most recent ones
- Synchronize development version and production version of the robot process automatically (Change once and synchronize all)
- If error occurred, we can reverse to the previosu stable version
Before going through the below blog, please read Best Practices Guide for Robot Lifecycle Management first.
1.1. Git setup for 1 MC(Management Console) case
Sometimes, there may be some tricky situation as below:
- Only 1 PC was provided for you to install Management Console and the hardware may not be enough to run 2 MC at the same time.
- The configuration of UAT and production is quite different
- Installation needs customer's IT approval and it may take long time
Under this situation, follow the guide alone may not be enough to achieve our goal to use git. Instead, we need to make some changes:
We need to make 2 projects for the same process:
- development, synchronize the development branch and use
developmentconfiguration production, synchronize the
masterbranch and use production configuration(For using configuration, please refer to the previous post)
- development, synchronize the development branch and use
- Merge branch (
development-->master) to synchronize changes
1.1.1. Install portable git
Download portable git.
After you download and unzip it, add the
git/binfolder into the user environment variablePath(not the system one). You can find inControl Panel --> User Accounts --> Change my environment variable(No need admin right🎉)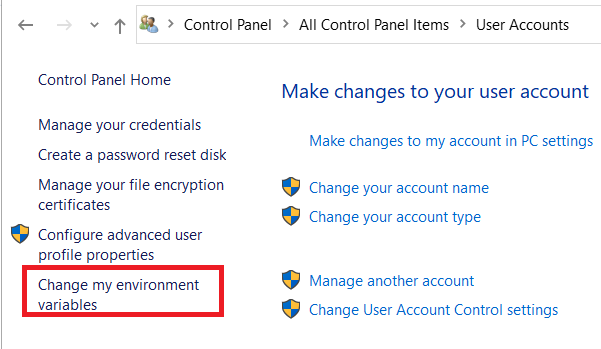

If you carry out the above steps successfully, in cmd, type
git --version, you should see something like below
1.1.2. Set up projects
Follow the guide and create a bare repository with development branch and master branch
Set up Management Console accordingly.
- Development for development branch and development project
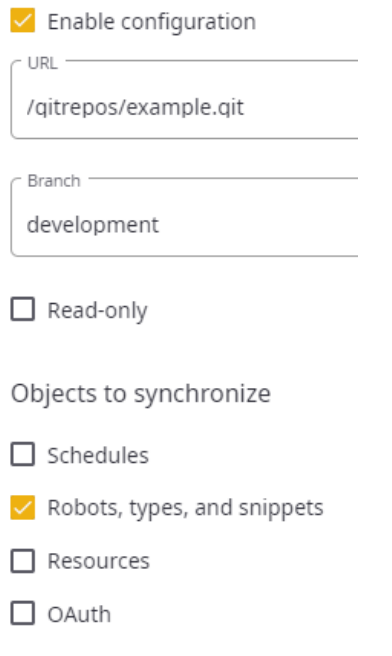
- Production for master branch and production project

- Development for development branch and development project
Run Synchronizer in Kofax RPA
1.1.3. Merge change from development branch to master branch
- Change should only be made in development branch
- If there are some differences between development environment and production environment, try to put the difference in the configuration first.
- If even configuration approach cannot resolve your problem, then change the production project. (This may lead to conflict when you merge)
- When we change in development branch, merge it to master branch like this
Conflict may occurs when you make change in development and production at the same time. Here are the steps to resolve it:
Use the command to see which file has conflict. Ref
git diff --name-only --diff-filter=U --relative- Modify the conflict file(s) by text editor
- Use
git addto add your conflict file to commit, e.g.git add Robots\SampleConflict.robot Use
git committo commit your changes with a comment. Refgit commit -m "Resolved merge conflict by incorporating both suggestions."- Use
git pushto push the change to the remote repository1.2. View Changes by Git
- Use
git branch -ato see the current active branch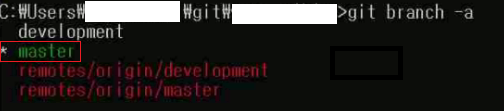
The current active branch is marked with "*"
- Use
git checkout <branch name>to change to the branch you would like to see
- Apply
git pullto get the latest change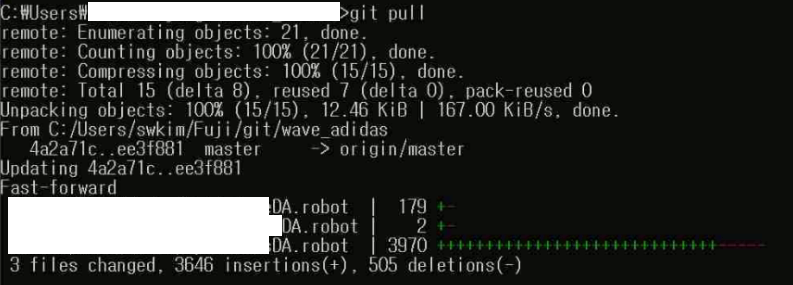
- Use
git logto see the commit history
Tips💡:
- Press "Enter" to read further log
- Press "q" to exit the git log mode
- Use
git log -pto see what you have changed in the commit history in detail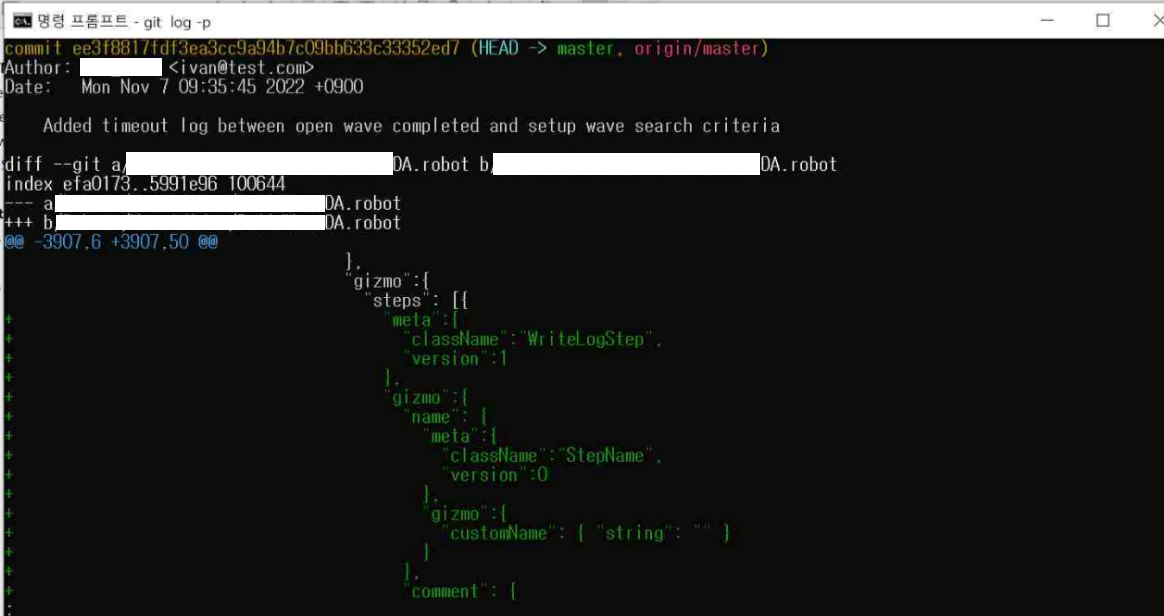
Tips💡:
- Press "Enter" to read further log
- Press "q" to exit the git log mode


